Creating SSH keys on iPhone
You don't need a computer to generate SSH keys — a good iPhone SSH client can create a key pair on the device, store the private key securely, and hand you the public key to install on your servers. After that you connect with no password. This guide shows the full flow: generate the key, add the public key to a server, and connect. The screenshots use TermAI.
Why use keys instead of a password?
- Stronger — a key pair can't be brute-forced the way a password can.
- Convenient — once set up, you connect without typing a password each time.
- Safer to disable passwords — with keys working, you can turn off password login on the server entirely.
An SSH key has two parts: a private key (stays on your phone, never leaves it) and a public key (you copy onto each server). The server uses the public key to verify the private key you hold.
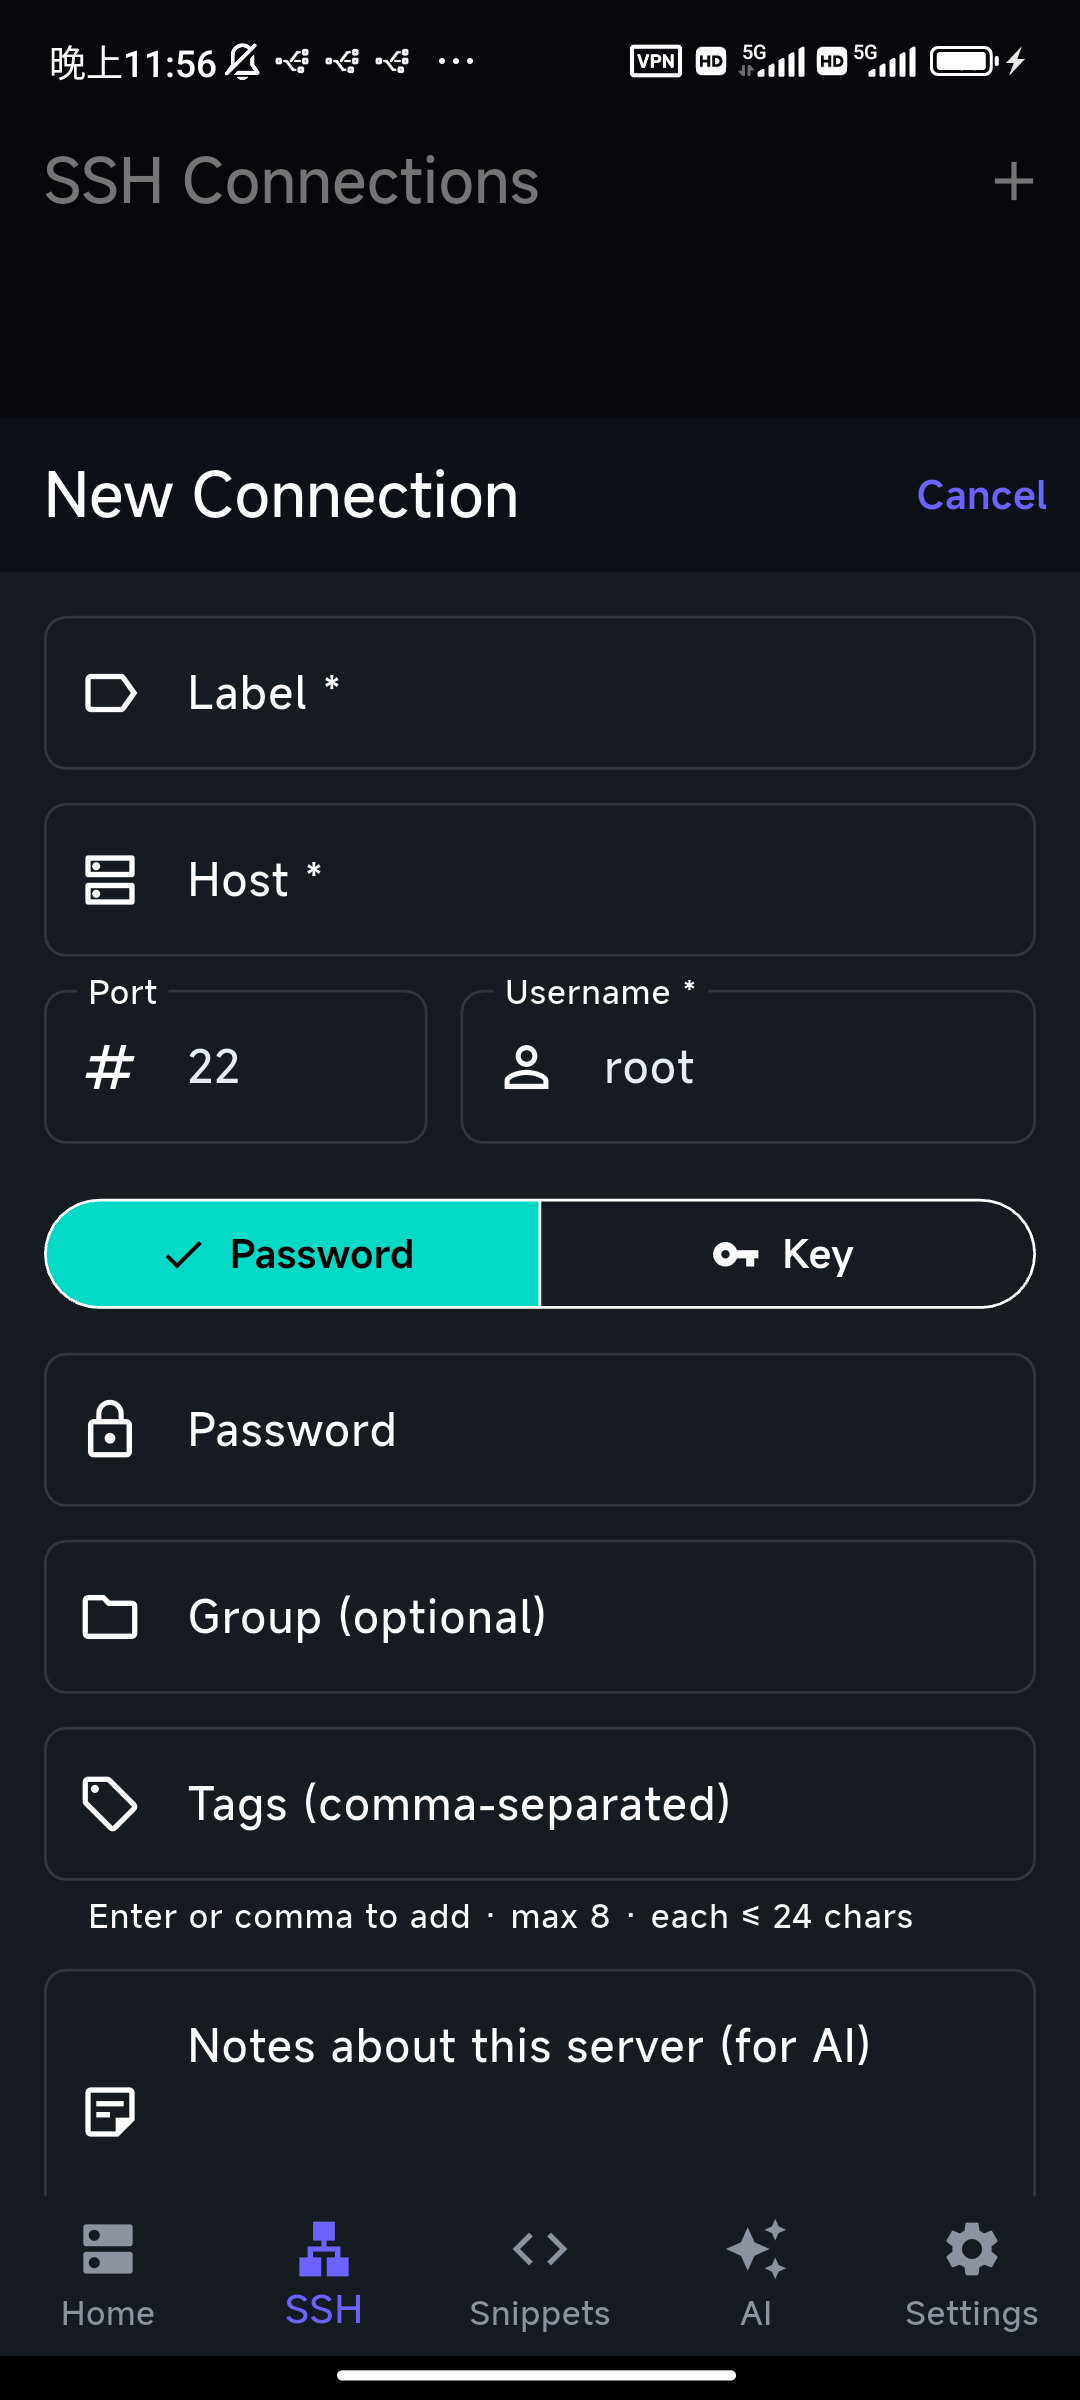
Step 1 — Generate a key pair on your iPhone
In your SSH client, open the key manager and generate a new key. TermAI creates an Ed25519 key pair (modern, short, and the recommended default) and stores the private key in the device's secure keystore — it stays on the phone. You then view and copy the public key to install it on a server.
Step 2 — Install the public key on your server
The public key (one line starting with ssh-ed25519) goes into the server's ~/.ssh/authorized_keys. Three ways:
- One tap, if you're already connected: TermAI can deploy the key to the server for you — it writes the public key into
authorized_keyson the connected host automatically, no manual editing. - By hand, if you can still log in with a password: connect once, then run:
mkdir -p ~/.ssh && echo "PASTE_PUBLIC_KEY" >> ~/.ssh/authorized_keys && chmod 600 ~/.ssh/authorized_keys - On a new Raspberry Pi / cloud VM: many setups let you paste the public key during provisioning (cloud-init, the host's web console, or Raspberry Pi Imager).
Step 3 — Connect with the key
Set the connection's authentication to Key and pick the key you generated. Connect — no password prompt. If it still asks for a password, the public key isn't in authorized_keys yet, or the file's permissions are wrong (it must be 600, and ~/.ssh must be 700).
Step 4 (optional) — Turn off password login
Once key login works, you can disable passwords entirely. On the server, in /etc/ssh/sshd_config set PasswordAuthentication no and restart SSH. Now only your key gets in. Test key login in a second session before doing this so you don't lock yourself out.
FAQ
Where is the private key stored on iPhone?
In the app's secure storage / device keychain. It never leaves the phone — you only ever copy the public key to servers.
Ed25519 or RSA?
Use Ed25519 unless a server is old enough to only support RSA. Ed25519 keys are shorter and considered more secure for the same strength.
Can I use the same key on multiple servers?
Yes — install the one public key on as many servers as you like. Many people use one key per device.
How do I move my key to a new phone?
Generate a fresh key on the new phone and add its public key to your servers, rather than exporting the private key. If your client offers encrypted sync, you can use that instead.
Quick Facts
- Task: create and use SSH keys from an iPhone — no computer needed
- Generate: in the app's key manager; choose Ed25519
- Private key: stays on the phone (keychain); only the public key goes to servers
- Install: add the public key to
~/.ssh/authorized_keys(perms 600) - Harden: once keys work, set
PasswordAuthentication no
Free on iOS and Android. 5 AI requests/day on the free tier, plus unlimited SSH/SFTP and built-in Tailscale.